I’m starting series of tutorials about creating interactive main menu. The first part will be about creating scene for the Armory. You will learn:
- What’s creativity?
- What’s the pipeline of creating scenes?
- How to use assets packs?
|
1 2 |
<strong>This Tutorial has been created using Unreal Engine 4.8.2</strong>. Make sure you are working on the same version of the engine. |
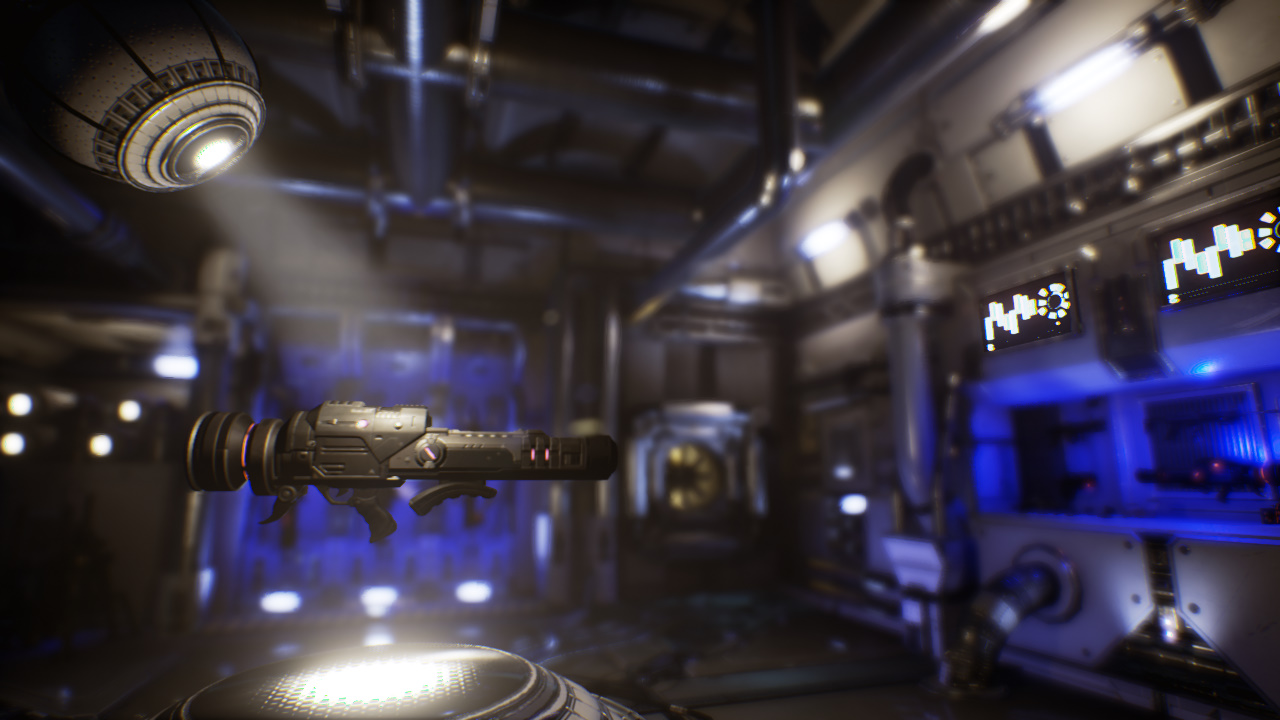
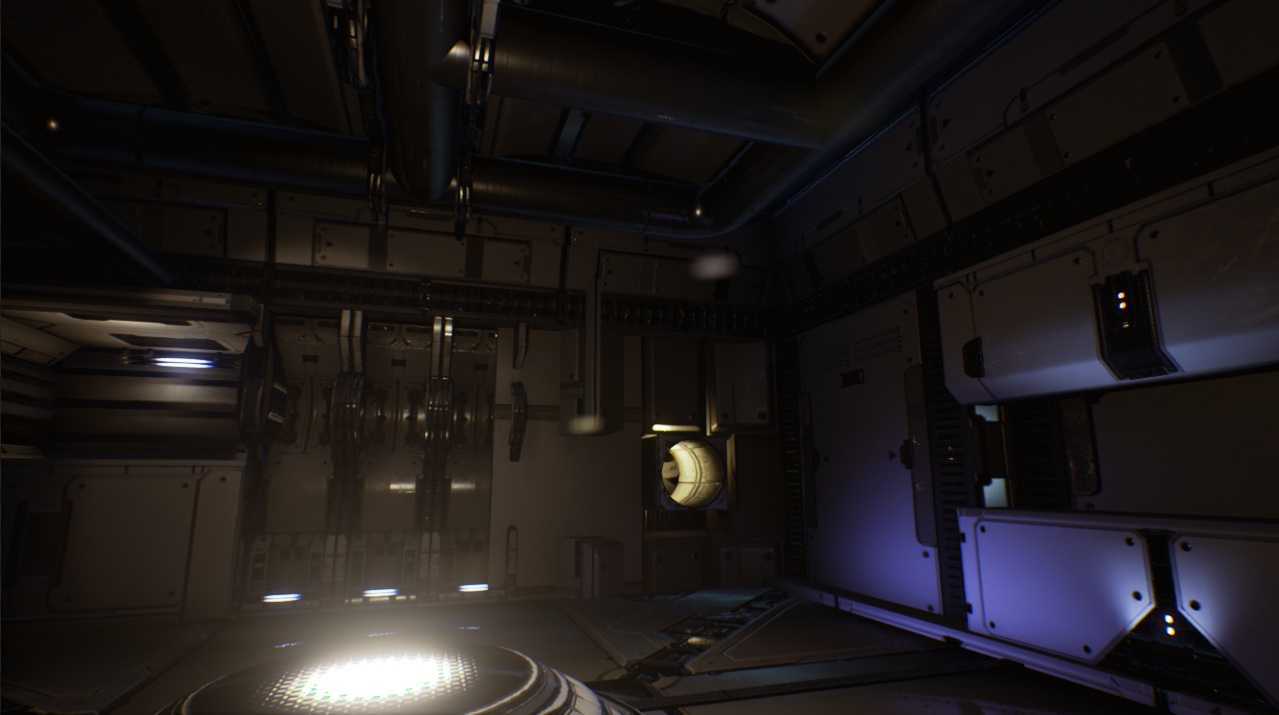
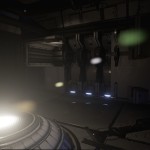
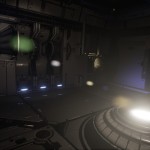
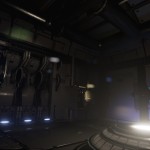
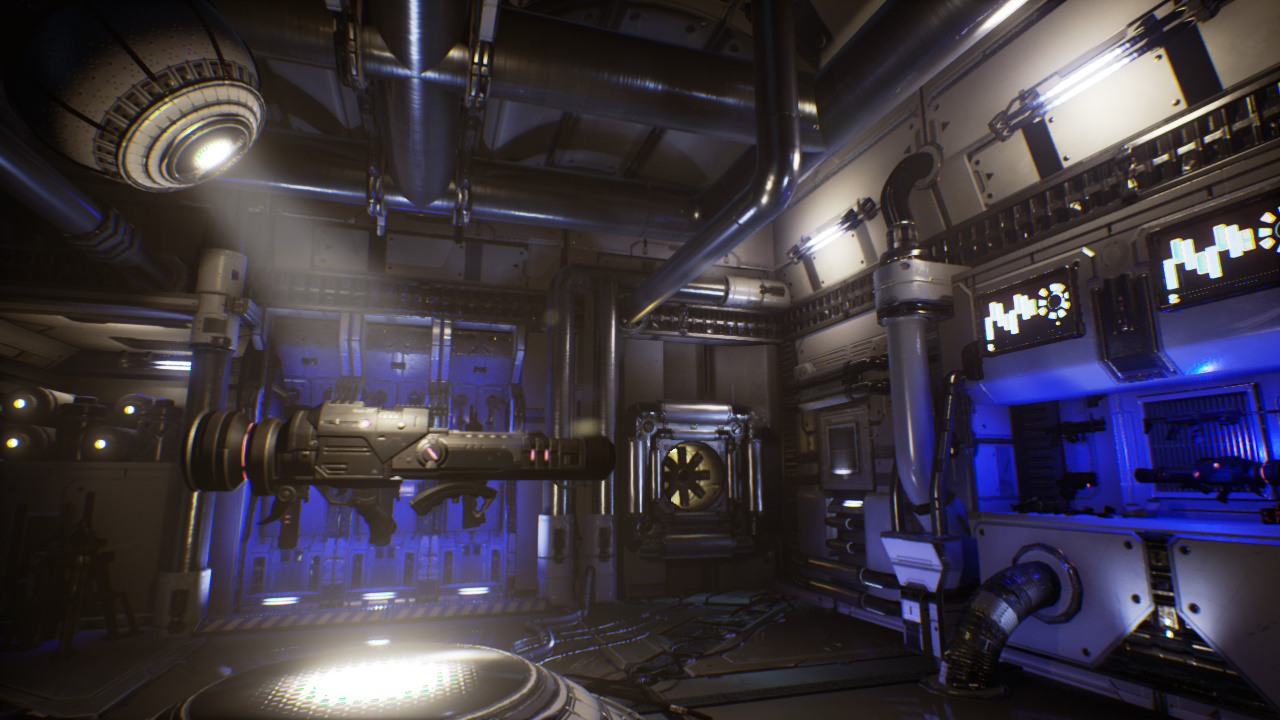
Sci Fi Props Pack
I have bought SciFi Props Pack for player ship environment.

If you are building sci-fi game this pack is must buy for you. It comes with lot of meshes that can be used differently by changing scale and materials. You can create AAA quality levels using this pack. Hope to see more assets from this Author!
What’s creativity?
Every time when I bought envrio pack I’m asking myself “yeah! but…what now?” I will give you guys some tips when it comes to creating envrio from packs.
First of all – I’m not graphics artist, I’m far from it, but I think that everyone can create great levels when they have ready to go assets. I know that most of you guys are asking now: “dude, I’m not graphics artist, how I could create level?”
From what I have seen the only thing that is important is creativity. For my opinion creativity is simple: get references -> hard work: create level using props that you have -> loop back.
Creativity == Hard Work.
You don’t need to be graphics artist to be working hard! 😉 Learning creativity is long process, and you won’t get great results after 5 minutes of work. The same thing comes for experienced graphics artist – they will tell you that creating levels is just time-consuming process with lot of iterations. It can be learned. I have seen testers, programmers, producers that are able to create great levels or even 3d assets.
Don’t be afraid. As always – take your time. It’s fun process and you will learn a lot.
References
The big part of creativity is to search for references. From movies, games, concepts – everything. For example I want to create armory. What I did is “sci fi armory room” google search for images.
![]()
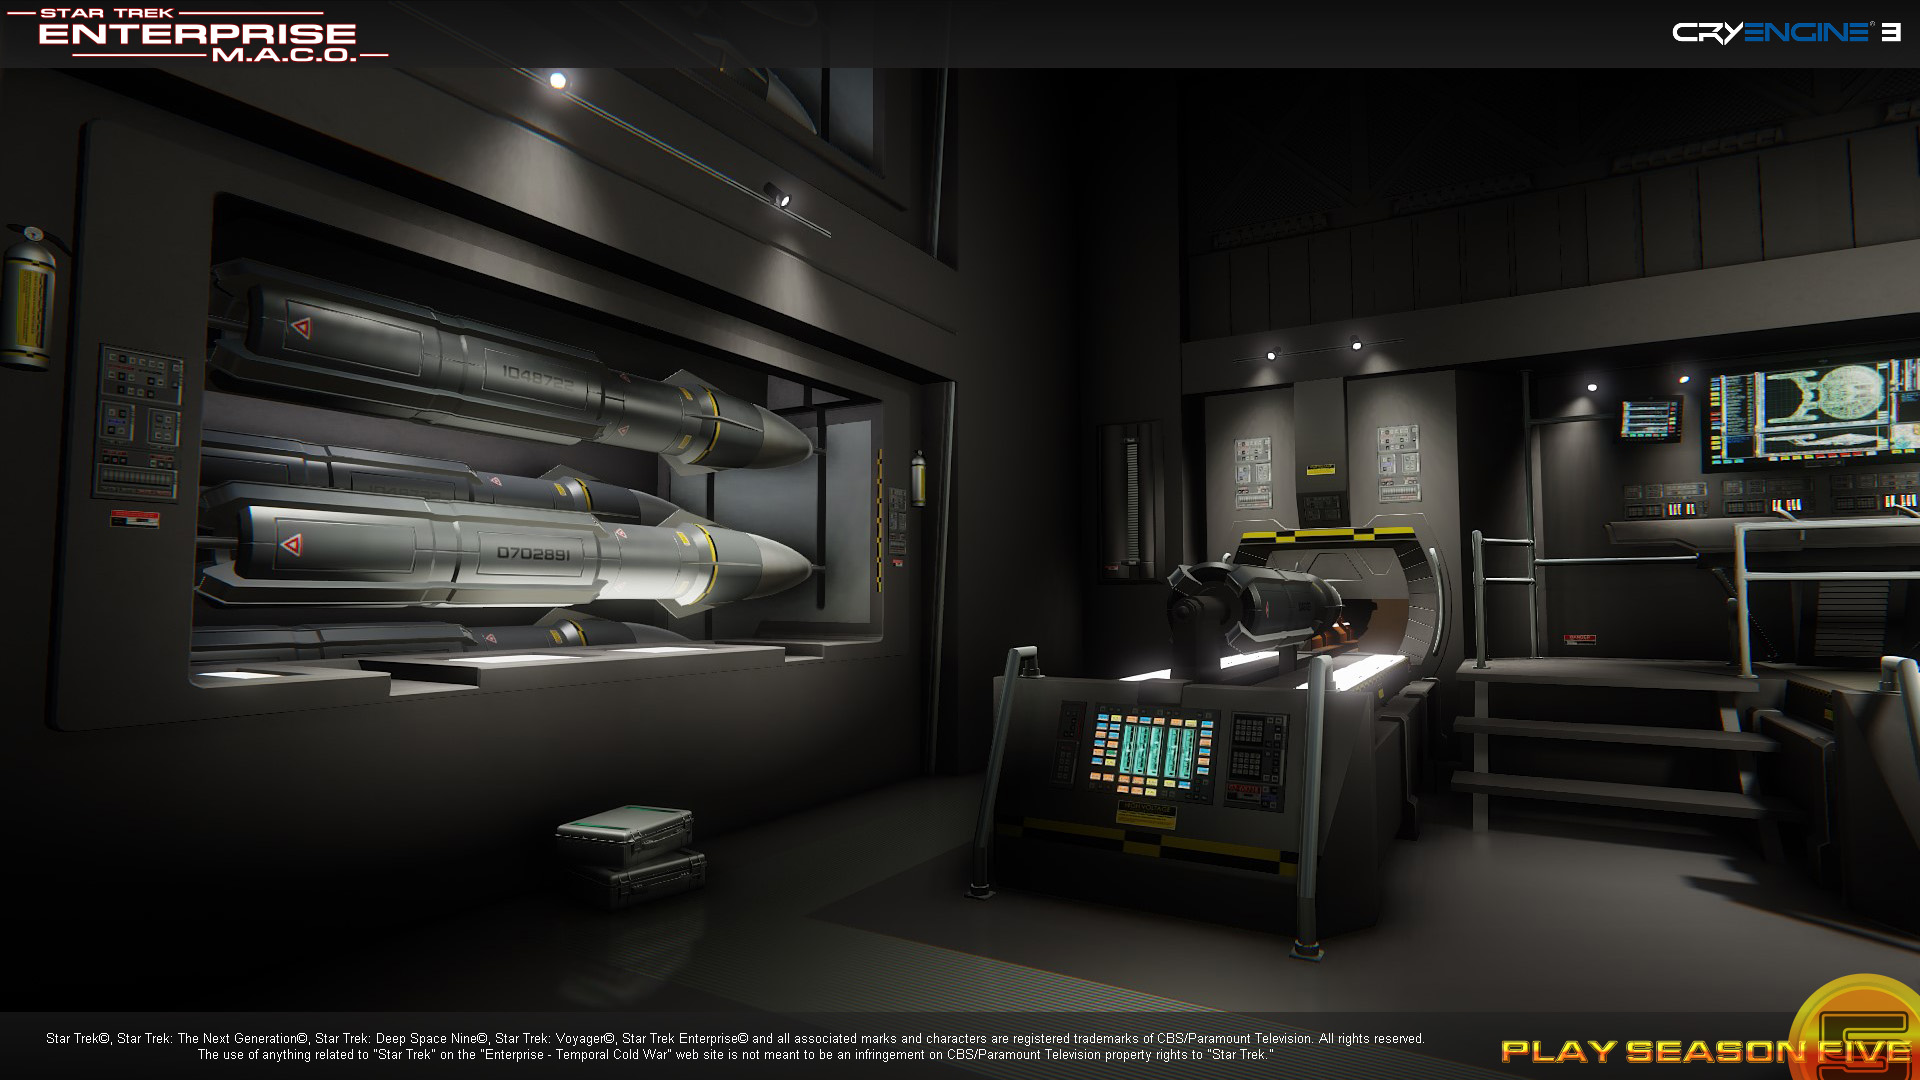
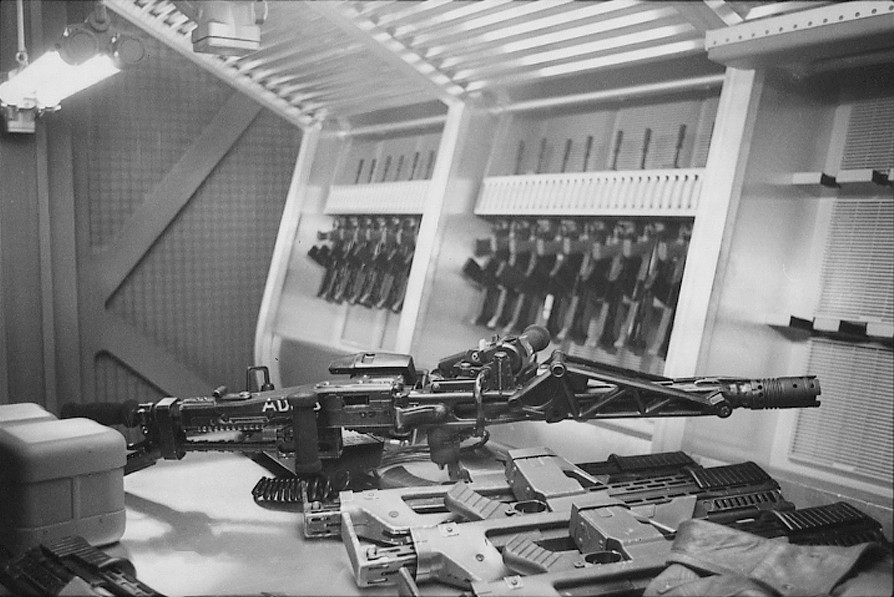

I would like to motivate you guys to download every reference you like to one folder and just watch it on daily basics during level production. Watch movies as well – if you saw scene that you liked – print screen.
Why you need references:
- They will give you ideas,
- They will show you how to prepare scene: first plan and layers.
References is big part of creativity don’t forget about this process when creating your level or anything that requires creativity.
Pipeline
This is my personal pipeline which I found good for me. Professional graphics artist could have different approach. Create new blank map called MainMenu_Armory.
First of all learn your pack. Watch demo levels closely, copy segments that you think are good for you. The only way to learn meshes from the pack is to create something from them. Try to create small level, just for fun. Watch references and try to create something that YOU like. Basically this part will go to “trash” but you will gain a lot of experience how to use assets from the pack.
Placing floor, walls and ceilings. This is the first part that I’m always doing. At this point I’m not thinking about how great it should look and how many details it should have, but how big it feel.
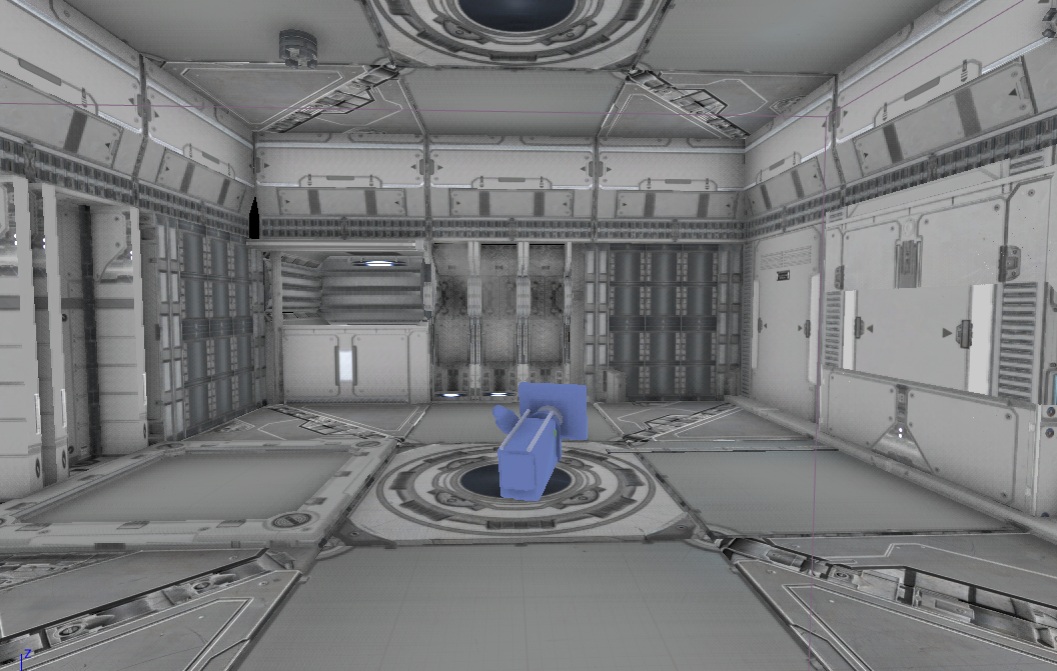
Don’t work with Lighting yet. Use Unlit. If you are happy with level scale add more big models which will break the architecture.

When it comes to lighting at this point you should use 2-3 lights only. Great levels are lighted with small amount of lights. Take your time – you really can create great results with only couple of lights. Try to read my first post about creating scenes with Lightmass tips.
If you are happy with your lighting you could add some detail – but still not too much. Different walls, ceilings etc just to add some variety to the scene. At this stage you should experiment – don’t be afraid to remove walls/ceilings and major parts of the architecture. As always look at the references and take your time!
The next thing is to find place for your camera. You need to know on which part of the scene you will be working. Where to point the camera to get the best results. Remember about references.
If you are happy with your camera now it’s time to work on details. Add props, add FX, work on post process and add detail lighting. This will take time.
There is a couple of things always boosting my effectivity when working on assets from packs:
- If I’m working on wall details I’m searching for good walls from demo level which almost all enviro pack have. Copy them and move to the scene. This approach can speed up your prototyping a lot and I can be used not only for walls but props, ceilings and basically: everything,
- Change meshes scale, try to create something new from them. There are great tutorials at Hourences.com, they cost some money but they will give you a lot of ideas how to work with assets. Totally recommended,
- Before moving with detail lighting make sure you are happy with 1-3 lights using Lightmass,
- Don’t try to finish scene in one day, take some sleep, go drink some beer, go with your pet, watch some movie – whatever – go back to the scene fresh day after,
- Try to use post process settings from demo level,
- Try to use lights from demo level,
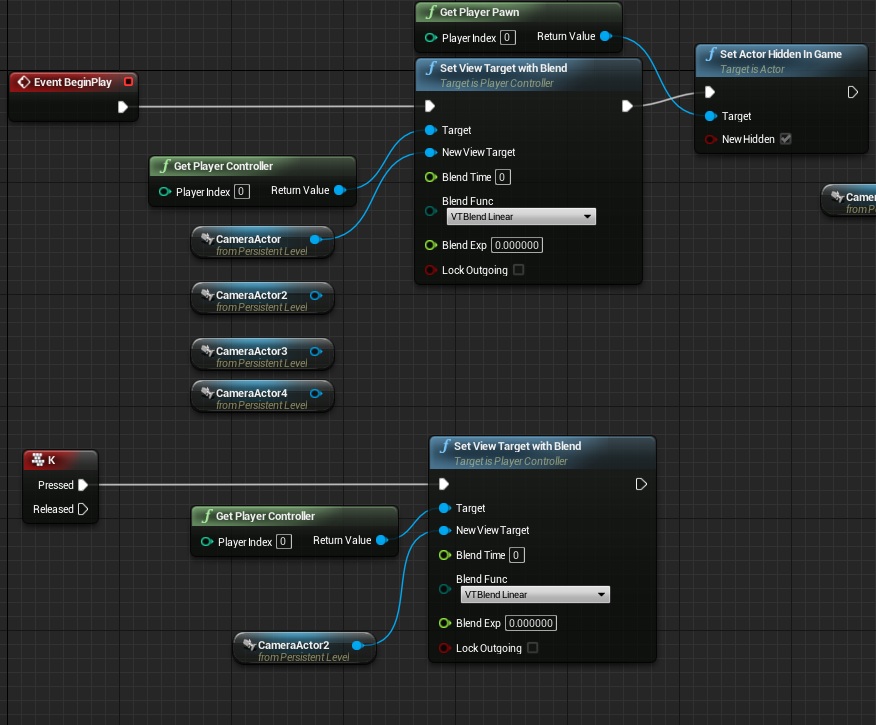
- If you want to quickly check the camera open level blueprint and add Set View Target with Blend on Player Controller.
As always – take your time. Try to create armory scene where player will be able to watch and upgrade his weapons, powerups, turrets and other stuff.
Creating ShooterTutorial takes a lot of my free time.
If you want you can help me out! I will use your donation to buy better assets packs and you will be added to Credits /Backers page as well.Implementing game is taking time but writing about it is taking much more effort!

hey bro ur tutorials are so Awesome i thought that when will u make some Third Person Shooter Game type like with Zombies U have Lot Of Talent Plz Think About That
Again, thanks a lot for your kind words about my pack…
I really like the mood of your armory scene!
Gratz for the 100.000! You just deserve it.